How to Replace the Chuck on a DeWalt DCD791 Drill
If your DeWalt DCD791 drill has started slipping, wobbling, or refusing to grip bits properly, the chuck is likely the culprit. Replacing the chuck on this compact brushless drill is a straightforward job that restores precision and safety to your drilling and driving tasks. This guide walks you through the exact steps, from identifying compatible parts to torquing the new assembly, so you can get back to work with confidence.
What Tools and Replacement Parts Do You Need for the DeWalt DCD791 Chuck Replacement?
Before you begin, gather the correct replacement chuck and tools. The DeWalt DCD791 uses a 1/2-inch (13 mm) keyless ratcheting chuck with a 1/2-20 UNF threaded mount. Do not attempt to use a chuck designed for a different thread pitch, as it won’t seat properly and may damage the spindle.
- Replacement chuck: DeWALT OEM part N109447 (or equivalent aftermarket with 1/2-20 thread). Budget £25–£40 / $30–$50.
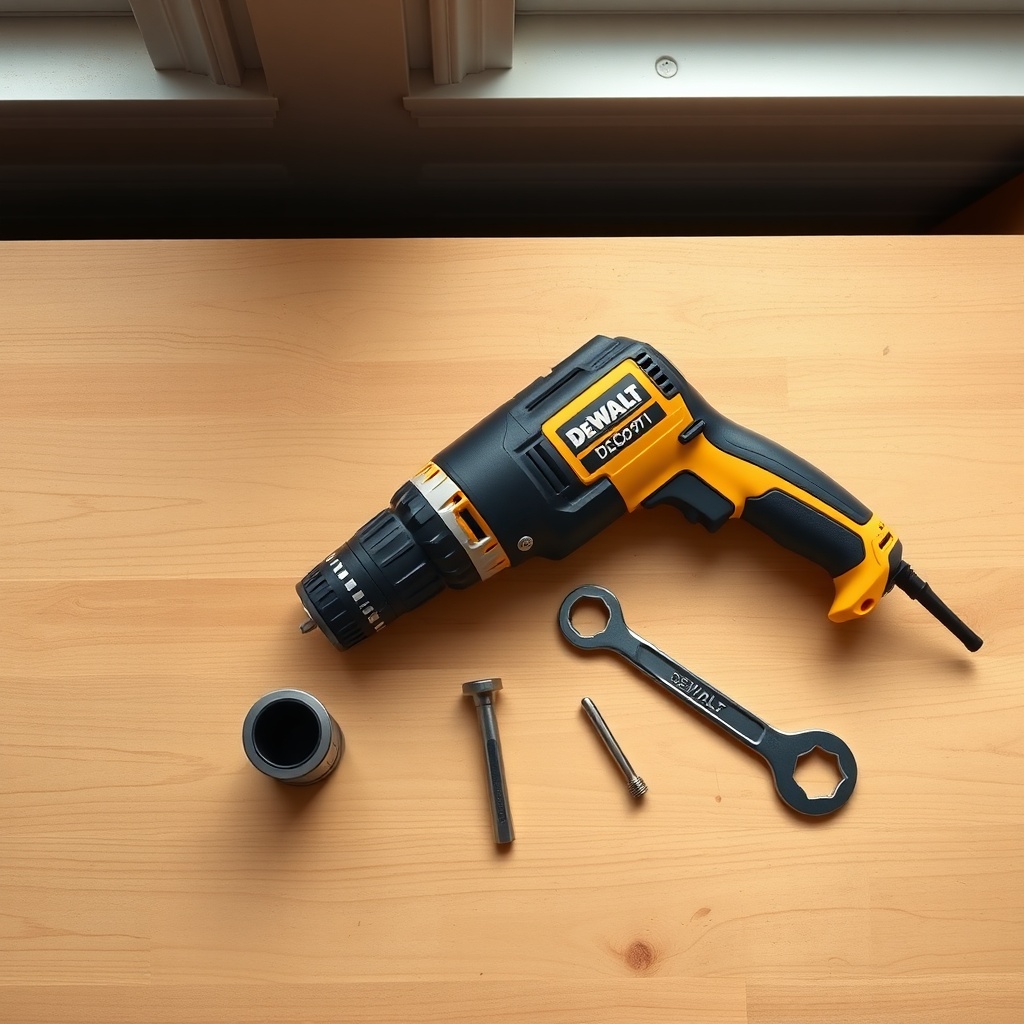
- Allen key (hex wrench): 5/32-inch or 4 mm, for the retaining screw inside the chuck.
- Large adjustable wrench or chuck removal tool: For loosening the chuck from the spindle.
- Torque wrench (optional but recommended): 25–30 ft-lb (34–41 Nm) for reinstallation.
- Penetrating oil (e.g., WD-40): If the chuck is stuck or corroded.
- Safety glasses and gloves.
If your drill has internal wear beyond the chuck, check our DeWalt DCD791 Motor Replacement: Step-by-Step Guide or the DeWalt DCD791 Brush Replacement: Step-by-Step Guide for related repairs.
How to Remove the Retaining Screw from the DeWalt DCD791 Chuck?
The first step is to locate and remove the left-hand threaded retaining screw inside the chuck. This screw prevents the chuck from spinning off during use. Follow these steps precisely to avoid stripping the screw head.
- Insert the largest drill bit your DCD791 chuck can hold (usually 1/2-inch) and tighten the chuck securely around it. This gives you leverage and prevents the spindle from rotating.
- Look inside the chuck jaws. You’ll see a small Phillips-head or Torx (T20) screw at the very bottom of the chuck bore. Use a flashlight if needed.
- Using a #2 Phillips or T20 Torx bit, turn the screw clockwise to loosen it. Yes, clockwise—it has a left-hand thread. Apply firm, steady pressure. If it feels stuck, spray penetrating oil into the jaws and wait 5 minutes.
- Once the screw is loose, remove it completely and set it aside in a safe place. This screw is tiny and easily lost.
Common mistake: Turning counter-clockwise will strip the screw head. If you encounter resistance, double-check your rotation direction.
If the retaining screw won’t budge despite oil and effort, inspect the DeWalt DCD791 Trigger Switch Not Working: Causes and Fixes for potential electrical issues that might affect chuck operation, though this is rare.
How to Loosen and Remove the Stuck Chuck on a DeWalt DCD791?
With the retaining screw out, you now need to unthread the chuck from the spindle. This step tests your patience, especially if the chuck has been on the drill for years.
- Insert a large Allen key (5/32-inch or 4 mm) into the chuck and tighten the jaws securely onto the short end of the key. The long end of the Allen key will act as a lever.
- Hold the drill body firmly with one hand. Use the other hand to strike the long end of the Allen key sharply with a hammer or mallet. The impact force helps break the thread lock compound.
- If impact doesn’t work, apply heat carefully with a heat gun (set to 150°C / 300°F) around the chuck base for 30 seconds. Do not overheat—damage to the plastic housing is possible.
- Once the chuck breaks free, unscrew it by hand counter-clockwise (as viewed from the front). If it’s still tight, use a large adjustable wrench on the chuck body while stabilizing the drill.
- Clean the spindle threads with a rag and isopropyl alcohol to remove old thread locker.
| Issue | Severity Level | Likelihood | Solution |
|---|---|---|---|
| Stripped retaining screw head | High—requires drilling out | Moderate (if wrong wrench used) | Drill out screw with 1/8-inch bit; replace screw |
| Chuck seized by thread locker | Medium—time-consuming | High (on older tools) | Impact method or heat gun |
| Spindle threads damaged | Very high—needs spindle replacement | Low (with care) | Professional repair or spindle swap |
| Jaws won’t open/close | Medium | Low | Replace chuck; check DeWalt DCD791 Speed Control Issues and How to Fix Them for electronic causes |
How to Install the New Chuck on a DeWalt DCD791?
Installing the new chuck is simpler than removal, but it must be done correctly to avoid future slipping or wobbling. Use thread locker on the spindle threads—blue Loctite 242 is ideal, as it holds securely but remains removable later.
- Apply one drop of blue thread locker to the first few threads of the spindle. Spread it evenly with a toothpick.
- Hand-thread the new chuck onto the spindle, turning it clockwise (as viewed from the front). Rotate it all the way until it stops against the drill’s shoulder.
- Insert a 5/32-inch Allen key into the chuck and tighten the jaws onto it. Hold the drill body, then use a torque wrench to tighten the chuck to 25–30 ft-lb (34–41 Nm). If you don’t have a torque wrench, hand-tighten firmly and give it one more quarter-turn using the Allen key and a wrench.
- Reinstall the left-hand retaining screw. Apply a tiny drop of blue thread locker to its threads, then turn it counter-clockwise (yes, opposite the spindle) until snug. Do not overtighten—this screw is small and strips easily.
- Test the new chuck by opening and closing the jaws fully. Insert a bit, tighten, and run the drill at low speed. Listen for unusual wobble or noise.
What Are Common Problems After Replacing the Chuck on a DeWalt DCD791?
Even after a successful installation, a few issues can arise. Knowing these helps you troubleshoot before calling a repair shop.
- Wobble at high speed: The chuck may not be fully seated on the spindle. Remove and reinstall, ensuring it threads all the way to the shoulder.
- Jaws slip on bits: The internal mechanism may be defective. Try a different OEM chuck if aftermarket. Also check for debris inside the jaws.
- Chuck loosens during use: Insufficient thread locker or not enough torque. Remove, clean threads, apply fresh Loctite 242, and retighten to 30 ft-lb.
- Retaining screw backs out: Use blue thread locker on that screw, and check that it is fully seated counter-clockwise.
- Drill won’t hold bit in reverse: All keyless chucks have some slip in reverse at extreme loads, but persistent slip indicates a worn chuck or spindle. Compare with our DeWalt DCD791 vs Milwaukee M18 FUEL Sawzall: Which Reciprocating Saw Wins? for insight on chuck performance under heavy use.
What Do Owners Say About the DeWalt DCD791 Chuck Replacement?
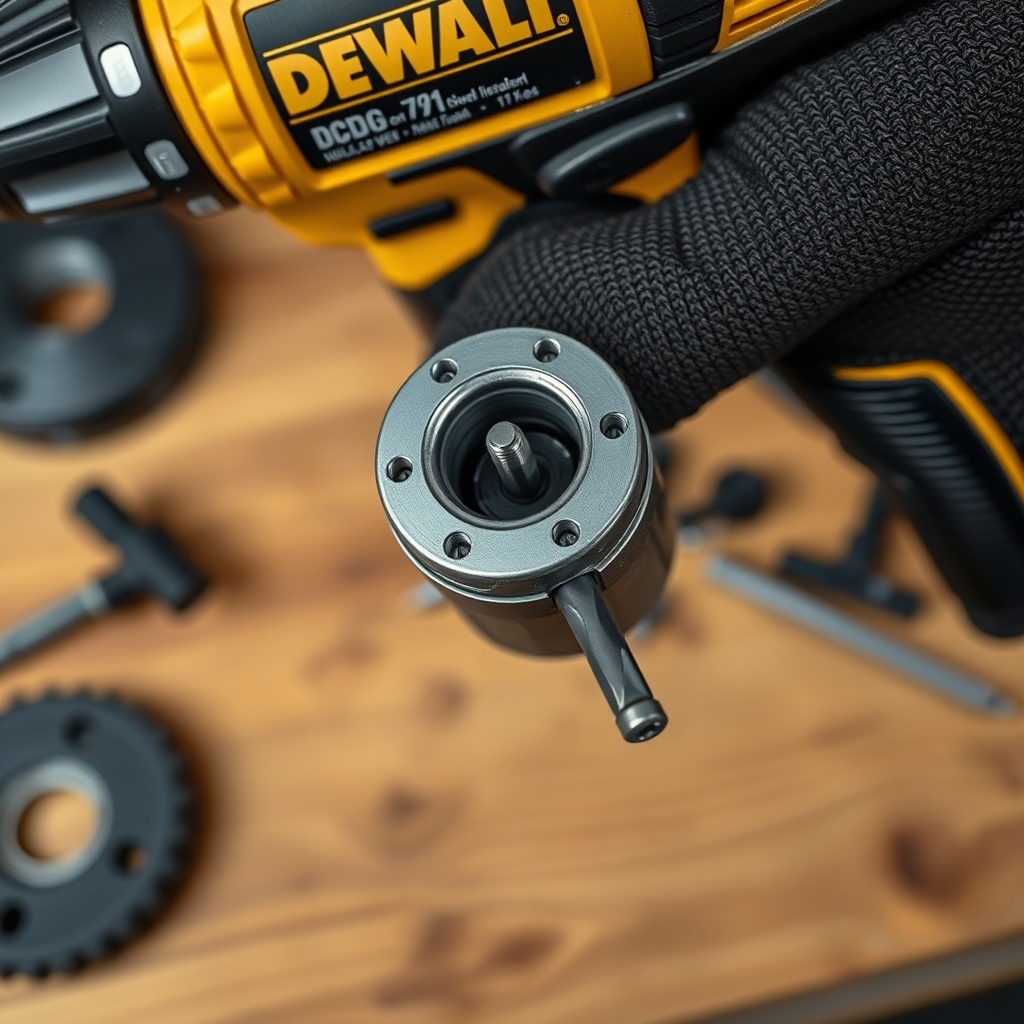
Owners of the DCD791 generally praise its brushless motor and compact design, but the chuck is a frequent topic in forums. Many report that the factory chuck can develop play after 6–12 months of heavy use, especially in drilling larger holes or mixing. Replacing it with a quality OEM unit or a Rohm-branded aftermarket chuck is the most common fix. Users note that the 1/2-20 thread is standard, but the left-hand retaining screw catches newcomers off guard. One user on a DIY forum stated: “I wasted an hour turning the wrong direction before I read the manual. Now I can swap a chuck in 10 minutes.” Several owners recommend buying a spare retaining screw (part N105416) in case of stripping. Overall, the consensus is that the DCD791 is a robust platform, but the chuck is its weakest link—easily fixed with this guide.
Frequently Asked Questions
1. Can I use a keyed chuck on my DeWalt DCD791?
Yes, if the keyed chuck also uses a 1/2-20 UNF thread. However, the new chuck will be heavier and may protrude, affecting balance. Most owners prefer keyless for speed.
2. How much does a replacement chuck cost for the DCD791?
An OEM DeWALT chuck costs around £35–£45 (US $40–$55). Aftermarket options (like from Rohm or ToolCurve) run £15–£30 ($18–$36). Always verify the thread pitch.
3. What torque spec should I use when installing the new chuck?
25–30 ft-lb (34–41 Nm) for the chuck-to-spindle connection. The retaining screw should only be snug, about 8–10 in-lb (0.9–1.1 Nm) maximum.
4. Why does my DCD791 chuck wobble even after replacement?
Check if the spindle is bent or if the chuck is not fully seated. Also inspect the drill’s bearing. If wobbling persists, the issue may be internal—see our DeWalt DCD791 Motor Replacement: Step-by-Step Guide for bearing checks.
5. Do I need special tools to remove the retaining screw?
Only a #2 Phillips or T20 Torx bit. Use a high-quality bit to avoid cam-out. If the screw is stripped, use a screw extractor set (left-hand drill bit) from a hardware store.
6. Can I replace the chuck without removing the drill housing?
Absolutely. The chuck is accessible from the front without disassembling the drill. Housing removal is only needed for internal motor or switch repairs, as detailed in DeWalt DCD791 Speed Control Issues and How to Fix Them.