Why Would You Need to Replace the Motor on a DeWalt DCD791?
The DeWalt DCD791 is a prized compact 20V MAX brushless drill/driver, renowned for its power-to-weight ratio. However, like any high-torque power tool, the brushless motor isn’t immune to failure. Over time, extreme use, debris ingress, or a seized motor bearing can cause the motor to burn out or lock up. The most common signs are a burning smell, grinding noises, or the drill simply refusing to spin despite a known-good battery. Replacing the motor is a cost-effective repair compared to buying a whole new unit, especially if you already own a fleet of DeWalt batteries and chargers. This guide provides a step-by-step approach to swapping out the motor, saving you roughly 40–60% of the cost of a new drill.
What Tools and Parts Do You Need for the Replacement?
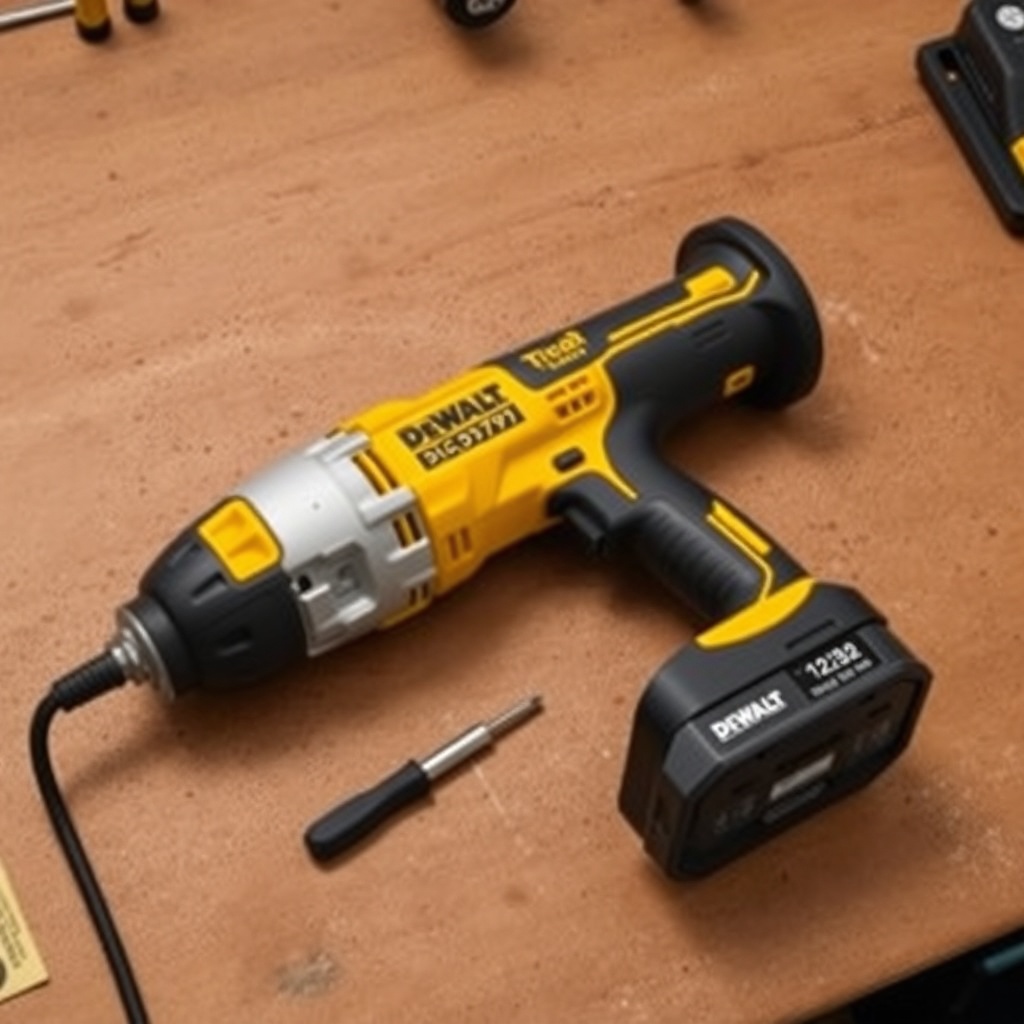
Before starting, gather the correct replacement motor and a few basic tools. The DCD791 uses a specific brushless motor assembly (often labeled as part number N271253 or similar). Do not attempt to use a generic motor; it must match the electronic control module (ECM). For the disassembly, you’ll need a T10 and T15 Torx screwdriver, a small flathead screwdriver, a pair of needle-nose pliers, and a plastic spudger or pry tool to avoid marring the housing.
Essential parts list:
- Replacement brushless motor assembly (OEM or high-quality aftermarket)
- Thermal grease (for motor-to-clamshell heat transfer)
- Rubbing alcohol (90% or higher) and cotton swabs for cleaning contacts
- Torx security bit (if your model has anti-tamper screws)
How Do You Disassemble the Housing Safely?
Safety first: remove the battery pack and any bit from the chuck. The DCD791 housing is held together by a series of Torx screws. Start by removing the two longer screws on the side grips (under the rubber overmold) and the four shorter screws on the rear handle. Carefully pry the clamshell halves apart using the spudger, starting at the bottom of the handle. Work your way up to the center. Inside, you’ll see the motor, the gearbox, and the control board. Gently lift the motor section away from the gearbox—there will be a small plastic gear on the motor shaft that interfaces with the metal planetary gears.
How Do You Extract the Faulty Motor?
Once the housing is open, locate the motor. It’s a sealed canister with three thick wires (U, V, W phases) leading to the control board. Use the T10 Torx driver to remove the two small screws securing the motor to the rear housing. Then, using the needle-nose pliers, disconnect the wire terminals from the board. Be very careful not to pull on the wires themselves; always grip the terminal connector. If the motor is seized, you may need to gently rock the assembly back and forth while pulling. Clean the old thermal paste from the contact pad on the housing where the motor sits.
A quick check: before installing the new motor, test the old one by connecting it to the control board and briefly pulling the trigger. If the motor hums but doesn’t spin, it’s likely burned out. If it’s completely dead, the ECM may also be damaged. For a deeper dive into electrical failures, consult our guide on DeWalt DCD791 Brushless Motor Failure: Causes and Fixes.
How Do You Install the New Motor and Reassemble?
Take the new motor. Apply a thin, even layer of thermal grease to the flat side of the motor can. This is vital for heat dissipation. Insert the motor into the housing, aligning the shaft with the gearbox. Reconnect the three phase wires to the control board—orientation matters because reversing any two wires can cause the motor to run backwards under load. Check the owner’s manual or a wiring diagram if unsure. Secure the motor with the two T10 screws. Reinstall the gearbox assembly, ensuring the ring gear and planetary gears mesh smoothly. Close the clamshell, fitting all the alignment tabs. Replace and tighten all Torx screws to about 6 in-lbs (0.7 Nm) of torque. Reinstall the chuck and any rubber grips.
| Specification | OEM DeWalt Motor | High-Quality Aftermarket |
|---|---|---|
| Part Number | N271253 | N/A (varies) |
| Rated Voltage | 20V MAX (18V nominal) | 20V MAX |
| Rated RPM | 25,000 (no load) | 25,000 (no load) |
| Phase Connections | 3-wire (U, V, W) | 3-wire (U, V, W) |
| Price (approx.) | $55.00 – $75.00 | $25.00 – $40.00 |
| Warranty | 3 years (OEM) | 1 year (typically) |
What Owners Say About Replacing the Motor
Experienced DIYers and professional tradespeople on forums like Garage Journal and Reddit’s r/Tools often report that replacing the motor in the DCD791 is a “weekend project” for anyone with basic soldering skills. Many note that the hardest part is separating the motor from the gearbox because the shaft gear can be tightly press-fit. One user mentioned he saved $110 on a repair versus buying a new drill, and the replacement motor has been running strong for over a year. However, owners caution against using cheap, unbranded motors because they often fail prematurely and can damage the ECM. Several users recommend pairing this repair with a bearing replacement to prevent recurrence of seizures. For a wider perspective on reliability, compare the DCD791 against competitors in our article: DeWalt DCD791 vs Milwaukee M18 FUEL Sawzall: Which Reciprocating Saw Wins? and DeWalt DCD791 vs Milwaukee M18 FUEL Router: Which Cordless Router Wins?.
Frequently Asked Questions
Q: Can I replace just the motor bearings instead of the whole motor?
A: Technically yes, but it’s not recommended for the average user. The brushless motor in the DCD791 is a sealed unit. Disassembling it to access the bearings often damages the windings or rotor magnets. Replacing the whole motor assembly is simpler, faster, and more reliable. If you do attempt a bearing swap, you’ll need a bearing puller and a press—this is usually only done by professionals or hobbyists.
Q: Will a new motor fix overheating issues?
A: Only if the old motor was faulty (e.g., a shorted winding or seized bearing). If the drill overheats due to poor ventilation, a dirty air intake, or an overloaded electronic control module, a new motor won’t help. Clean the vents and check the ECM first. For specific steps, see DeWalt DCD791 Overheating: Causes and Fixes.
Q: How much does a replacement motor cost in US dollars?
A: An OEM DeWalt motor (part numbers typically start with N or 514) costs between $55 and $75 from authorized dealers. Aftermarket units are available for $25 to $40, but quality can be inconsistent. Always verify the motor’s specifications (RPM, voltage) match the original. Expect to pay around £45 to £65 in the UK or €55 to €75 in Europe.
Q: Do I need to replace the chuck or gearbox when replacing the motor?
A: No, not unless they are damaged separately. The motor assembly is independent of the gearbox and chuck. However, while you have the drill open, it’s good practice to inspect the three planetary gears inside the gearbox for wear or missing teeth. If the gearbox is rough, you can replace it as a separate assembly—but that is a more involved repair.
Q: What battery should I use after replacing the motor?
A: The DCD791 is compatible with all 20V MAX batteries (DCB200, DCB203, DCB204, etc.) and also works with 18V XR batteries (e.g., DCB180, DCB182). For optimal performance, use a 5Ah or higher battery. A freshly charged battery ensures the ECM delivers full power to the new motor. Read more in DeWalt DCD791 Battery Compatibility: Which Batteries Work?.
Q: Can I replace the motor without soldering?
A: Yes. The DCD791 uses plug-in terminals on the control board. You only need a small flathead screwdriver to release the terminal clips. No soldering iron is required. This makes it a straightforward mechanical swap, provided you have the right Torx bits. If you are also replacing brushes (though this is a brushless motor), refer to DeWalt DCD791 Brush Replacement: Step-by-Step Guide for that specific task.