How to Replace the Chuck on a DeWalt DCD791 Drill
Replacing the chuck on a DeWalt DCD791 drill is a straightforward procedure that can restore gripping performance and extend the tool’s lifespan. This guide covers identification, removal, installation, and troubleshooting, with practical advice from experienced users and repair professionals.
Why Would You Need to Replace the Chuck on a DCD791?
The DeWalt DCD791 uses a 1/2-inch (13 mm) single-sleeve ratcheting chuck that can wear over time. Symptoms include slippage when tightening drill bits, inability to hold smaller bits securely, excessive wobble during operation, or a chuck that sticks when opening or closing. Replacing the chuck is significantly cheaper than buying a new drill—a replacement chuck costs approximately $30 to $50, while a new DCD791 brushless drill runs around $180 to $230.
What Tools and Parts Are Needed for the DCD791 Chuck Replacement?
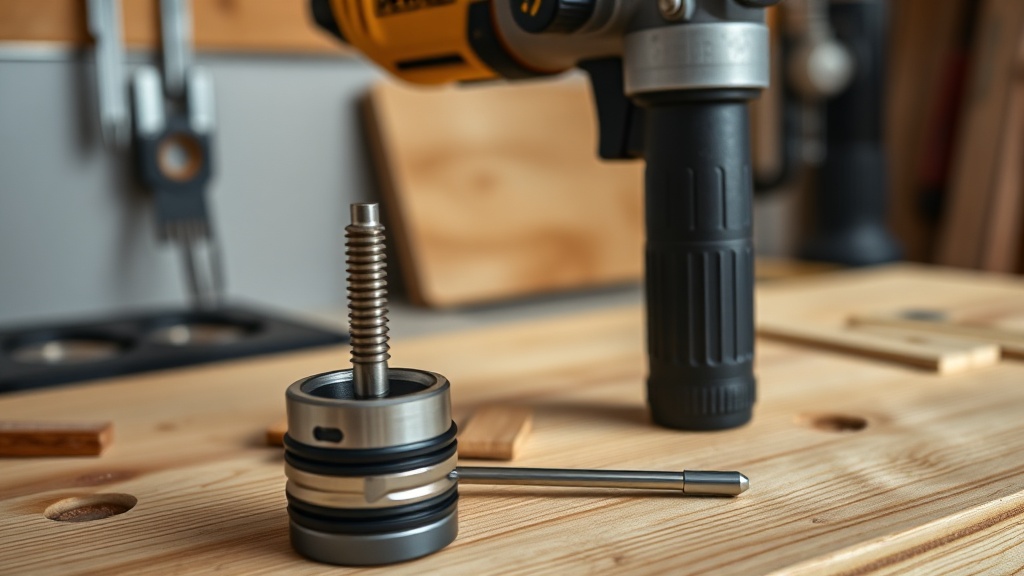
Before starting, gather the following tools and replacement parts specifically for the DeWalt DCD791:
- Replacement chuck: DeWalt part number N693550 (1/2-inch keyless ratcheting chuck with 3/8-24 UNF thread)
- 6 mm hex key (Allen wrench) or a T20 Torx screwdriver
- Large adjustable wrench or a pipe wrench (for loosening the chuck)
- Workbench or sturdy surface
- Safety glasses
- Lubricant (optional, for stubborn chucks)
The DCD791 uses a right-hand threaded chuck with a left-hand retaining screw. Do not use a standard steel screwdriver for the retaining screw; the hex key or Torx ensures proper engagement.
How Do You Remove the Old Chuck from a DeWalt DCD791?
Step 1: Remove the Retaining Screw
Insert the 6 mm hex key (or T20 Torx) into the chuck opening. Look for a screw head visible inside the chuck. Turn the screw clockwise (right-to-loose) because it is left-hand threaded. If it’s stubborn, apply a small amount of penetrating oil and let it soak for 10 minutes.
Step 2: Loosen the Chuck Body
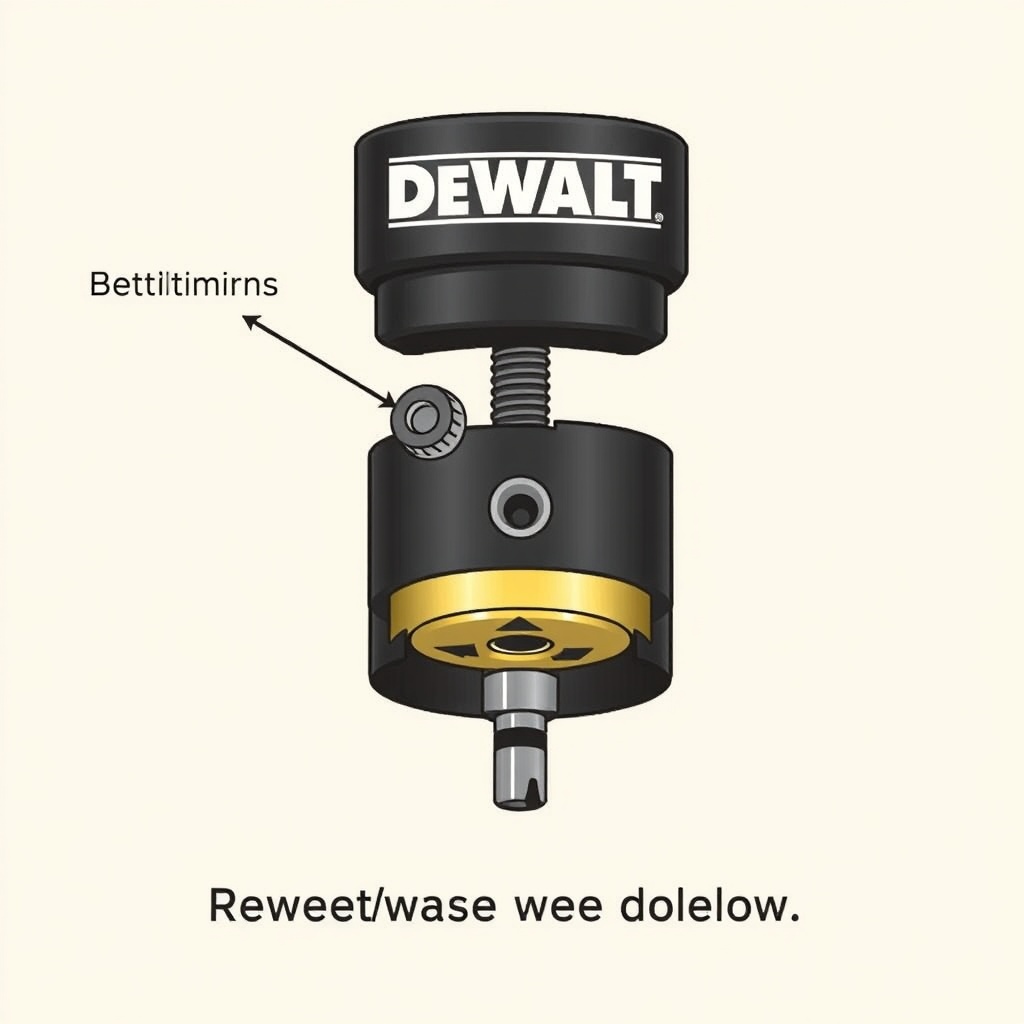
Insert a 6 mm hex key into the chuck and tighten the chuck jaws around the short end of the key. Hold the hex key steady with one hand. With the other hand, strike the long end of the hex key sharply with a hammer to break the chuck loose. Alternatively, use a large adjustable wrench on the chuck body. Turn the chuck counterclockwise (as viewed from the front) to unscrew it.
Step 3: Remove the Spindle Washer (if present)
Some DCD791 units have a small flat washer or a spring washer between the chuck and the spindle. Remove it and set it aside—reuse it unless damaged.
How Do You Install the New Chuck on the DCD791 Spindle?
Step 1: Clean the Spindle Threads
Wipe the spindle threads with a clean cloth to remove debris or old threadlocker. Inspect the spindle for damage—replace if bent or stripped.
Step 2: Install the Replacement Chuck
Hand-thread the new chuck onto the spindle clockwise (right-hand thread) until snug. Do not use tools to over-tighten; the chuck will be secured by the retaining screw and tool use.
Step 3: Reinstall the Retaining Screw
Apply a small drop of medium-strength threadlocker (e.g., Loctite 242) to the retaining screw threads. Insert it into the chuck and tighten it counterclockwise (left-hand thread) to secure it. Torque to approximately 15-20 in-lbs (1.7-2.3 Nm)—firm hand-tight plus a quarter turn with the hex key is sufficient.
Step 4: Test the Operation
Insert a 1/2-inch drill bit, tighten the chuck by hand, and run the drill at low speed. Check for wobble and ensure the jaws grip evenly. Open and close the chuck several times to confirm smooth operation.
What Common Mistakes Should You Avoid When Replacing the DCD791 Chuck?
| Symptom | Severity |
|---|---|
| Chuck loosens during use (not tightened properly) | Needs attention soon – can cause bit slippage and potential injury |
| Retaining screw stripped or broken | Usually not urgent – replace screw immediately before use |
| Chuck cross-threaded on spindle | Needs attention soon – will cause permanent damage to spindle |
| Spindle washer missing | Usually not urgent – can cause slight wobble over time |
| Chuck jaws misaligned after installation | Needs attention soon – replace chuck if jaws are damaged |
Common errors include over-tightening the new chuck, which can strip the spindle threads, or failing to use threadlocker on the retaining screw, which can cause it to back out during operation. Always verify the replacement chuck matches the DCD791 thread pitch (3/8-24 UNF).
What Do Owners Say About Replacing the DCD791 Chuck?
Experienced owners report that the DCD791 chuck replacement is one of the easier repairs on a modern drill, often taking under 30 minutes. Many note that the factory chuck uses a light threadlocker that makes initial removal tight—they recommend a heat gun (set to 150°F/65°C) applied to the chuck collar to soften the adhesive. One owner mentioned that replacing the stock chuck with an aftermarket keyless chuck (like the Rohm Supreme) eliminates the common complaint of the jaws slipping on smooth shank bits. Another owner cautioned against using a steel pipe wrench directly on the chuck body, as it can mar the surface; a strap wrench or a rubber jar opener is safer. Several owners stressed that the left-hand retaining screw is easy to overtighten—snug is enough.
Frequently Asked Questions
Is the chuck on the DeWalt DCD791 left-hand or right-hand threaded?
The chuck itself is right-hand threaded (clockwise to tighten onto the spindle). The retaining screw inside the chuck is left-hand threaded (counterclockwise to tighten, clockwise to loosen). Always confirm the thread direction before applying force.
What is the thread size for the DCD791 chuck?
The DCD791 uses a 3/8-24 UNF (Unified Fine) thread. This is a common size for professional drills. Some aftermarket chucks designed for 1/2-inch drills may have the same thread, but always verify compatibility.
Can I use any brand of replacement chuck on my DCD791?
Yes, as long as the replacement chuck has a 3/8-24 UNF thread and accepts up to 1/2-inch (13 mm) shank bits. Brands like Rochester Precision (OEM for DeWalt), Rohm, and Jacobs are reliable. Avoid generic unbranded chucks as they may have poor jaw concentricity or premature wear.
Do I need to remove the drill battery before replacing the chuck?
Yes, always remove the battery before performing any repair. This prevents accidental activation and protects you from pinching or rotating parts. Also, lock the trigger or remove the tool from power sources.
How much does a replacement chuck for the DCD791 cost?
A genuine DeWalt OEM chuck (part number N693550) typically costs $35 to $50. Aftermarket chucks from Rohm or Jacobs range from $25 to $45. Prices vary by retailer and may include the retaining screw and washer.
Why does my new chuck still wobble after installation?
Check three things: the spindle must be clean and straight; the replacement chuck must be fully seated on the spindle threads; and the retaining screw must be properly torqued. If wobble persists, the chuck may be defective or the spindle may be bent from previous overtightening. In such cases, consult a professional service center.