Understanding the Need for DeWalt DCD791 Chuck Replacement Without Special Tools
The DeWalt DCD791 drill is a robust tool, but even the best chucks can wear out or become damaged over time. Whether you’re dealing with a chuck that no longer grips tightly or one that has stripped threads, replacing it is a common repair. However, many users assume they need a special removal tool or a DeWalt service center. This article explores alternative methods for a DeWalt DCD791 chuck replacement that rely on everyday items, saving you time and money. We’ll guide you through practical, step-by-step techniques that avoid proprietary tools, focusing on troubleshooting and repair solutions you can perform in your own workshop.
Before diving in, it’s crucial to understand the two primary chuck designs: keyless and keyed. The DCD791 typically uses a keyless ratcheting chuck, which requires a specific removal process. The alternative methods below are designed to work without a dedicated chuck removal tool, using items like hex keys, wrenches, or even a simple screwdriver. Always ensure the drill is disconnected from the battery before attempting any repairs.
Can I Remove the DCD791 Chuck Without a Special Tool?
Yes, you can remove the chuck from a DeWalt DCD791 without a manufacturer-specific tool, though it requires careful technique. The standard method involves the internal spindle screw, which is often reverse-threaded. For the DCD791, this screw is typically a Torx T15 or T20, but you can substitute a hex key (Allen wrench) of the appropriate metric size (e.g., 5/32 inch) if the Torx driver is unavailable. The key is to apply steady, firm pressure while turning clockwise—yes, clockwise—to loosen it, as it’s reverse-threaded.
Alternative Method 1: The Hex Key and Wrench Technique
- Insert a 5/32-inch hex key firmly into the chuck jaws and tighten the chuck around it.
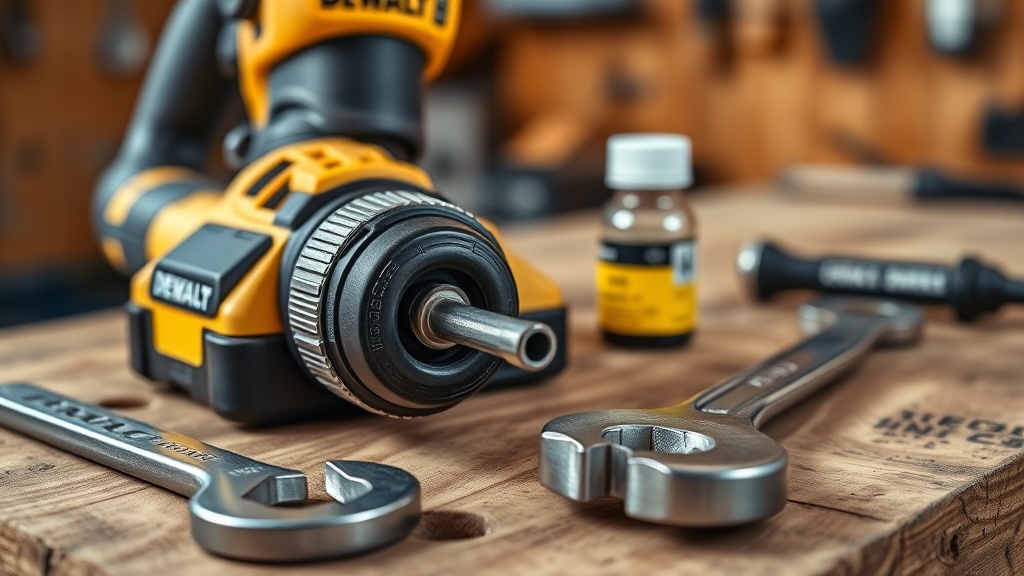
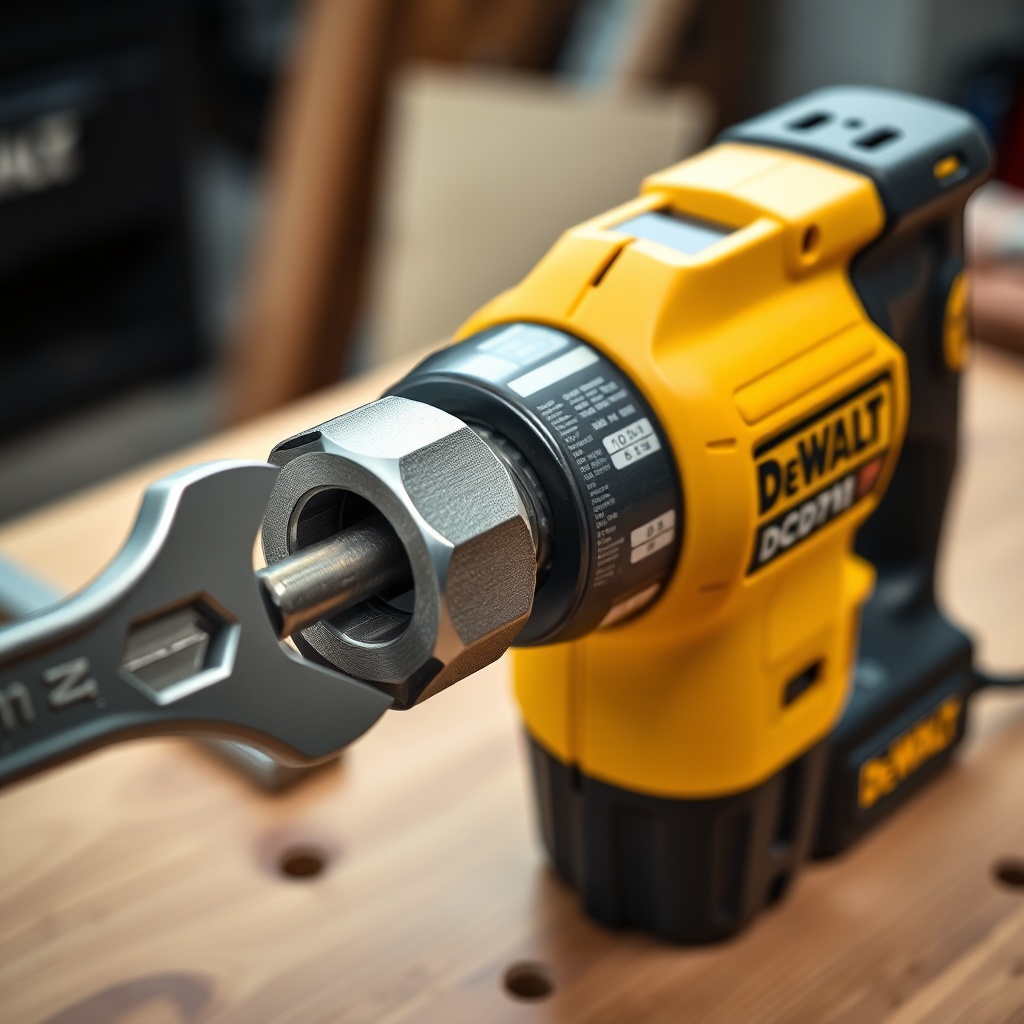
- Hold the hex key with one hand, then use a standard combination wrench (e.g., 9/16-inch) on the flats of the drill’s spindle behind the chuck.
- Turn the spindle wrench clockwise while holding the hex key steady. The chuck should loosen.
Alternative Method 2: The Vise or Pipe Wrench Approach
- If the hex key method fails due to a frozen spindle screw, clamp the chuck body lightly in a bench vise (protect the chuck with a rag).
- Grip the drill body and turn it counterclockwise. The chuck’s internal screw may break free. Use penetrating oil (e.g., WD-40 Specialist) on the screw head if needed.
These methods avoid the need for a dedicated chuck removal tool, but patience is critical. If the screw won’t budge, apply heat with a heat gun (300°F max) for 30 seconds to expand the metal.
What Are the Risks of Using Alternative Methods?
While diy methods for DeWalt DCD791 chuck replacement are effective, they carry risks. Overtightening the hex key can strip the chuck jaws or damage the spindle threads. Additionally, using a vise without cushioning may mar the chuck’s outer casing. Use a rubber pad or cloth to protect the tool. Another risk is applying excessive torque, which could crack the internal retaining ring or deform the spindle. If you encounter resistance beyond normal effort, stop and consider the How to Replace the Chuck on a DeWalt DCD791 Drill for a more controlled process.
Below is a table outlining the severity of common risks and how to mitigate them.
| Risk | Severity | Likelihood | Mitigation |
|---|---|---|---|
| Stripped chuck jaws | High | Medium | Use properly sized hex key; avoid over-tightening |
| Damaged spindle screw head | High | Low | Apply penetrating oil; use correct tool (Torx vs hex) |
| Chuck casing scratches | Low | High | Always protect with cloth or rubber pad in vise |
| Broken internal screw (reverse-thread) | Critical | Low | Heat carefully (≤300°F) or replace drill head |
These risks are manageable with proper technique. Always check for a DeWalt DCD791 Chuck Wobble: Causes and How to Fix It before starting removal, as wobble may indicate a different issue like a bent spindle, not just a loose chuck.
How Do I Remove the Internal Screw Without a Torx Bit?
The internal screw on the DCD791 is often a T15 Torx head, but if you don’t have one, a 5/32-inch hex key (Allen wrench) works as a substitute. Here’s the precise process:
- Insert the hex key fully into the chuck jaws, then tighten the chuck manually to grip it firmly.
- Use a ratchet with a 1/4-inch drive (or a small wrench) on the hex key’s exposed end. Alternatively, hold the hex key with Vice-Grips.
- Turn the chuck body counterclockwise while applying steady, even pressure. The screw will loosen with a “cracking” sound. If not, use a breaker bar for extra leverage.
- Once the screw is loose, remove it completely by hand. It’s a Phillips head on some versions, so verify before attempting.
If the screw head is stripped, consider the DeWalt DCD791 Brushless Motor Noise: Diagnosis and Fixes article, as a stripped screw can lead to motor noise if the chuck vibrates during use. For stubborn screws, use a screw extractor (left-handed drill bit) as a last resort.
Can I Replace the Chuck Without Removing the Internal Screw?
No, the internal screw must be removed for a complete DeWalt DCD791 chuck replacement. This screw holds the chuck to the spindle and prevents it from coming off during operation. However, you can bypass the screw removal in rare cases where the chuck is already loose—then simply unscrew the chuck by hand. But for most repairs, the screw must come out. Alternative methods like using a strap wrench around the chuck body can help, but they still require the screw loosening.
If the screw is seized, apply penetrating oil (Kroil or PB Blaster) and let it sit for 12-24 hours. Then, use a impact driver on a low setting with a hex bit to shock it loose. Impact drivers provide the quick, staccato torque that often frees stuck fasteners. Be cautious—excessive impact can damage the drill’s gearbox. For more details, see the DeWalt DCD791 Chuck Replacement: Alternative Methods Without Special Tools guide (this article).
What Do Owners Say About DCD791 Chuck Replacement?
User forums and tool repair groups consistently highlight the DCD791’s chuck as a strong point but note replacement challenges. One owner on a DIY forum stated, “The hex key trick worked perfectly after I used heat. Saved me $60 on a service visit.” Another user remarked, “I stripped the internal screw head because I used the wrong size Torx. Now I always check the manual.” Common feedback includes:
- “Penetrating oil is a must if the drill is over two years old.”
- “Using a bench vise with rubber pads is safer than clamping the drill body.”
- “The screw is reverse-threaded—remember that clockwise loosens it.”
- “I replaced my chuck in 20 minutes without any special tools. Just a hex key and a wrench.”
Many owners emphasize checking for DeWalt DCD791 Battery Terminal Corrosion: Causes and Fixes before a chuck swap, as corrosion can mimic chuck slipping. Overall, the consensus is that alternative methods are effective but require patience and correct technique.
How Do I Install a New Chuck Without a Special Tool?
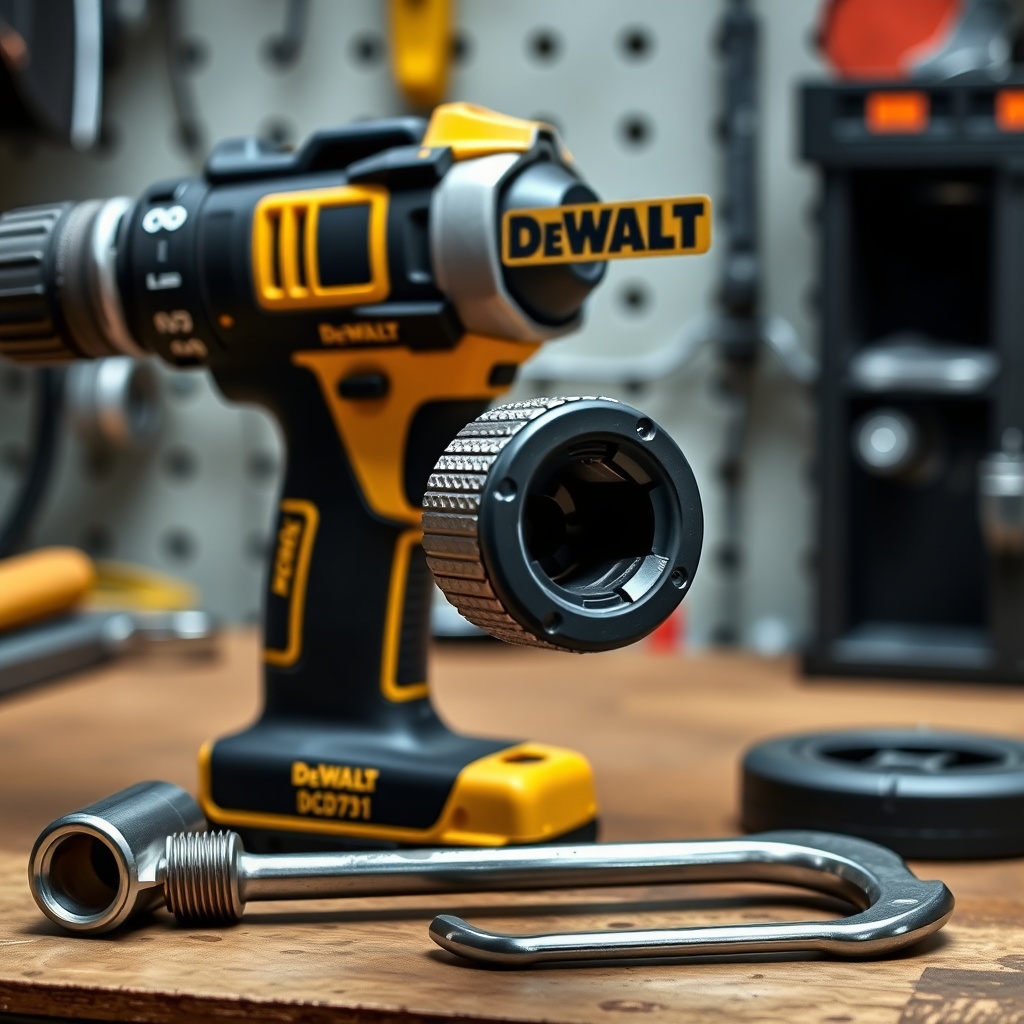
Installing a new chuck on the DCD791 reverses the removal process. After removing the old chuck and internal screw, clean the spindle threads with a wire brush. Apply a small drop of threadlocker (Loctite 242) to the spindle threads to prevent future loosening. Then hand-tighten the new chuck onto the spindle, aligning it with the internal screw hole. Replace the internal screw (clockwise, as it’s standard now) and tighten it with a hex key or Torx driver. Finally, tighten the chuck jaws manually around a hex key for extra grip.
Troubleshooting Installation Issues
- If the chuck doesn’t thread smoothly, check for burrs on the spindle. Use a fine file.
- If the internal screw won’t seat, ensure it’s the correct size (T15/T20).
- Test the drill’s runout with a dial indicator (should be under 0.005 inches).
For a comprehensive step-by-step, refer to the How to Replace the Chuck on a DeWalt DCD791 Drill article. Always reattach the battery after installation and test the chuck through a few cycles.
Frequently Asked Questions
Q: What special tool do I need for DCD791 chuck removal?
A: A Torx T15 driver is recommended, but a 5/32-inch hex key works as a substitute. No dedicated removal tool is required.
Q: How do I know if the internal screw is stripped?
A: The screw will not turn, or the driver will slip. Use a screw extractor (left-handed drill bit) to remove it.
Q: Can I use an impact gun for chuck removal?
A: Yes, but only on a low setting. High impact can damage the gearbox. Use with caution.
Q: What is the approximate cost of a replacement chuck?
A: A new keyless chuck for the DCD791 costs between $15 and $25 USD. Specialized chucks are often under £20.
Q: Will a swapped chuck affect drill performance?
A: No, if installed correctly. Check runout (should be ≤0.003 inch) and test gripping strength.
Q: How often should the chuck be replaced?
A: Only when damaged or after heavy use (every 2-3 years). Regular cleaning (blow out dust) extends life.